How To Install Kali Linux In Android
Android is known as the Linux kernel-based operating system that took the mobile computing segment by storm since 2008. Although it is running on top of a Linux kernel, it does not behave like a typical Linux distribution such as Ubuntu, Fedora, Debian and etc., but rather uses a derivative of Java virtual machine called Android RunTime which does not support a typical QT or GTK Linux app.
But Android being an open source operating system provides the flexibility that an iOS device can never touch, rooting, the capability of the user to run as a superuser. This opens opportunities to modify the device however the user feels like, within the bounds of the Linux kernel residing at the core of Android. One such capabilities is to run a full-fledged Linux operating system on top of Android, which may be a Frankenstein idea at first, but a dream of any advanced users, especially the system admin-types that would love the capability to run Linux in their mobile device.
The first requirement in order to install a Linux distribution installation to an Android phone or tablet is a rooted device. The steps on rooting a device are beyond the scope of this article, especially for the fact that every brand and model of the device have their own distinct procedures in rooting. We recommend you head to xda-developers.com for details in rooting for a particular brand and model of the device.
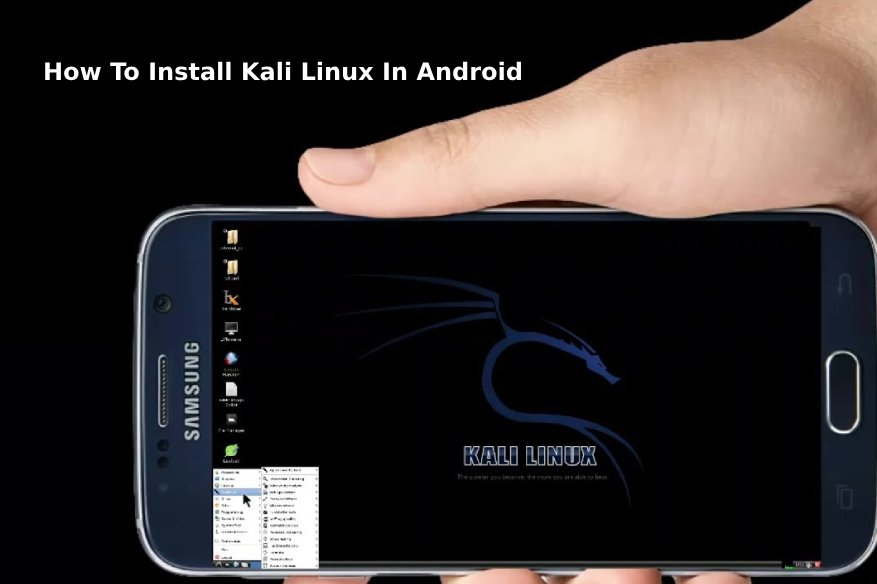
For this article, the discussion will cover the installation of Kali Linux to a rooted Android device. Kali Linux is very popular for advanced Linux users and penetration testing, with tools necessary to perform ethical hacking. The vital app that needs to be installed in order to start the installation of Kali Linux to Android is Linux Deploy, which can be downloaded from the Google Play Store here.
Linux Deploy is a hypervisor, a program that creates a virtual device on top of a real device, which can run an operating system within it. Linux Deploy supports installation of not just Kali Linux, but also other mainstream Linux distributions such as Debian, Ubuntu, Fedora, CentOS, Slackware, Arch Linux etc. For the purpose of this walkthrough, the following installation procedure is for Kali Linux.
Upon installation of Linux Deploy, go to its Properties and set Kali Linux as the distribution, assuming your device is running an ARM processor, choose armhf under the Architecture option. Linux Deploy will automatically allocate space to the device’s storage, under the name linux.img, this can be renamed by selecting the Installation path button. Click the install button, this will install Kali Linux in the background.
Re-open Google Play Store again and install VNC viewer app, this will give the user the capability to ‘remote’ the user interface after Kali Linux is installed. The address should be ‘localhost’ and the name is ‘kali’. With the use of VNC viewer, the user can enter the Kali installation, by default; the VNC username is ‘android’ with password as ‘change’. By default, Linux Deploy uses a 4GB file to serve as the virtual install drive for Kali. Expanding this default virtual drive size is beyond the scope of this article, there are articles online detailing the steps that can be followed in order to expand the storage needs of Kali Linux using specifics commands contained within the distribution itself.
0 Comments